")


Ready to say goodbye to Blog Launch overwhelm and say hello to a step-by-step checklist you can follow to start your blog successfully?
As a first-time blogger, it’s easy to get overwhelmed and confused with your blog set up and all the things you need to check off your list to hit publish on your brand new blog.
But your blog launch doesn’t have to be chaotic.
This post gives you the 16 Must-Do Steps you should take before launching your blog.
So that you’re sure you didn’t miss anything important you’ll regret later or get hung up on things that don’t matter in the beginning.
It doesn’t have to take weeks to launch your blog successfully.
And if you follow these steps, you’ll be able to attract blog visitors from day 1!
Sounds good?
You can start your brand new blog and get hosting with Bluehost for less than $2.95/month, without having to hire a programmer, know code, or spend hours sitting at your computer! |
How to Launch a Blog Calm Without Chaos
Now I bring this up because I made about every beginner blogger mistakes in the books when I launched my first blog.
And that’s not what I want for you.
If you’re new to my blog, let me tell you a little bit about me first…
Hi, my name is Katie, and I’m a Swiss b,logger going into year 12. When I started my first blog back in 09, I remember feeling a mix of excitement and sheer overwhelm.
But blogging wasn’t as popular back then so resources were short, and I had to figure out a lot on my own.
As you can imagine, I made about every mistake you can think of.
Nope, I’m not one of those people things just come easy to, lol.
But, I learn from my mistakes.
And, I do it fast.
So from choosing the wrong blogging platforms, to breaking my site by changing my permalink structure and getting hacked and shut down because I choose the wrong blog host…
I’ve seen it all.
But eventually, this is how I got where I am today.
3 years ago, I quit my corporate banking job and went all-in on blogging. After many failed and successful blog launches, I’m in a place where blogging isn’t only a hobby for me anymore but a full-time job. Where I can combine my passion with a lifestyle, I always dreamed about.
If you can relate to that, I hope my blog launch checklist and tips help you navigate your launch with ease.
So, you don’t have to make the same mistakes I made, and your blog launch becomes easy sailing.
You got this – and let’s go!
This post is an in-depth tutorial. Please use the navigation to find a specific topic. If you want to JUMP STRAIGHT TO THE “START A BLOG TUTORIAL,” please click here! |
What is a Blog Launch
A blog launch represents the point in time after you’ve set up your blog and you ac live with your finished blog to the public. Before your launch, you can work on your blog behind the scenes, but it’s not yet visible to other people online.
Setting up and launching a blog doesn’t have to take weeks and weeks. Plus, I don’t think we should be perfectionists setting up our blogs.
This post is an in-depth tutorial. Please use the navigation to find a specific topic. If you want to JUMP STRAIGHT TO THE “START A BLOG TUTORIAL,” please click here! |
Perfectionism will keep you stuck.
We want to get the important things done and then launch. You’ll learn fast that there’re always more things you could do in blogging.
The question is – should you?
So after you’ve set up your blog from a technical side (CMS, hosting, domain), you’ll still be in “Maintenance Mode” or “Launch Mode”. This is how this looks like:
This means even though your blog is technically set up, it’s not yet live.
It’s the perfect time to work on your design, create your first few blog posts to launch and make sure all your settings are right.
I walk you through what to do step by step in the upcoming sections.
Why you Need a Blog Launch Plan
So, why do you need a blog launch plan in the first place?
Blogging is Easy, Right?
It can be, but…
Sometimes we are making things out to be more complicated than they actually are.
And blogging doesn’t have to be complicated or overwhelming. But, running a successful blogging business (if that’s what you want) isn’t just easy. It’s a lot of work, and you’ll need to learn a ton of new things. Anybody who’s saying blogging is smooth sailing and easy money is lying.
I’m sorry.
But, I agree your blog launch can be easy if you’ve got the right tools and information.
First of all, my checklist and launch plan will give you the most important WordPress setting you can apply and then forget.
So one job done, yey!
And it’s going to give you a rundown of the most important steps.
So, you never wonder if you forgot something you didn’t even know about or lose time on tasks that aren’t important in the beginning.
Mistakes Can Be Fixed Later, Right?
Yeah, some, and others haunt you…
I genuinely believe that we learn most by making mistakes.
But, truth be told, some mistakes I just wish I never made.
Having a clear launch plan makes sure you’re not missing the mark on important things like the right permalink structure or growing an email list from the get-go.

If I Build it, They Will Come, Right?
Sadly nope.
Without having a launch plan and including some kind of strategy to attract people to your blog once it’s life, your blog will fall flat.
Just because you hit publish and launch your blog does not mean anybody will come.
Frankly, this happens to so many people.
They hit launch and think people will magically appear.
People won’t.
They won’t even know your blog exists.
Your launch plan makes sure you show up in the right places online, and you get some eyeballs on your content. Growing blog traffic is one of your most important tasks as a blogger. It will be an ongoing thing on your blogging journey, and it’s one of my favorite things I teach about.
Check out my YouTube channel about Pinterest traffic here!
And before we jump into your launch checklist, I just want to get one thing out of the way…
Is your blog set up right?
Because if your foundation isn’t right, the launch checklist isn’t going to do you any good.
Check this off, and you’re good to 3…2…1…LAUNCH!
3 Pillars of a Blog (Blog Technical Setup)
Before you can launch, I want you to make sure your blog is set up right
From a technical side.
We’re talking about the 3 pillars of your blog, which are your Content Management System (CMS), your hosting, and your domain. You’ll need these three things to have a solid blog foundation.
Read my in-depth post about The 3 Pillars of a Blog if you want more information.
1. WordPress.org – Your Content Management System (CMS)
I recommend you start your blog with the WordPress.org platform. It’s the best and most popular blogging platform in the world.
Period!
WordPress.org is free, and you’ll set it up when you get your hosting plan.
Please don’t confuse WordPress.org with WordPress.com (read more about the important difference here).
WordPress.org is where you’ll create all your blog posts and design your blog.
2. Your Hosting
You can start your brand new blog and get hosting with Bluehost for less than $2.95/month, without having to hire a programmer, know code, or spend hours sitting at your computer! |
To start and launch a successful blog, you want to be self-hosted.
Self-hosting your blog means paying for a hosting service that will store and save your blog online. I like to refer to your blog as your house and your host as the land where your blog is built. You want to own the land your blog is built on.
My favorite blog host is Bluehost
Check out my easy How Start a Blog in 2022 (Beginner’s Guide) here.
3. A Domain
Your domain is your blog name and URL.
If you buy your own domain name, this can be any name you like as long as it’s still available.
My domain for this blog is whatskatieupt.com. I own this domain.
You can get your domain with Bluehost as well. I’ll teach you how to get hosting and your domain in one single step in less than 10 minutes. Read the full tutorial here.
Got these three things covered?
Well done!
You’re now ready to launch your blog in no time, calmly and safely!
Let’s do this!
16 Steps to Launching your Blog Successfully
To make this blog launch checklist super easy for you to digest, I’ve structured it into 4 main parts:
- Step 1-4 – WP Settings
- Step 5-8 – Design
- Step 9-12 – Content
- Step 13-16 – Promotion
Let’s go.
1. Permalink Structure
Before you launch your blog, one of the most important steps is to set your preferred “Permalink” structure.
“Permalinks are the permanent URLs to your individual pages and blog posts, as well as your category and tag archives. A permalink is the web address used to link to your content. The URL to each post should be permanent and never change — hence the name permalink.” (Source).
You can choose how this link structure looks like.
The default is often to include the day the post or section was published and the post’s name.
I recommend you change it to “post name” without the date. This is better for SEO and a clean look.
IMPORTANT: Once you have launched your blog and published your post – Please do not change the Permalink structure of your Website. As URLs are the specific addresses where people can find your Blog and Posts, once you change this here, people won’t find your content with the old URL. I would recommend sticking to your old structure even though it might not look nice.
2. Static Page + Latest Posts
You can decide if you want to display a static page as your homepage.
Or you can set your blog page as your homepage.
When you choose a static page, your visitors will first see a landing page where you can give more information about what your blog is about and who you are. Then you can select a “post page” as your blog. You can interlink those two by adding a “blog” section in your home menu.
If you choose your blog page as your homepage, people see your latest posts right away when they land on your blog.
It’s not wrong or right to use either of these methods.
It’s just important to be mindful of your blogging goal. Do you want people to jump into your blog post straight away or first learn about you and your business?
If you need help with your settings and WordPress from a technical side, check out my course “The WordPress Studio” here.
3. Site Title + Tagline
Before you launch your blog, make sure to set a “Title and Tagline.”
The site “Tagline” explains in a few words what your blog and business are all about. Some themes will display the “Tagline” in the header or sidebar.
“Your site title can be anything you’d like; it doesn’t have to be the same as your blog’s URL or your username. You can use a cleaned-up version of your URL (e.g., myawesomeblog07 can become My Awesome Blog) or change it to whatever best reflects your site’s personality and topic.”(Source).
I recommend you make your site title and tagline really catchy. It’s the first thing people see when they land on your site. You want to make sure you give information about what your blog is all about and if they’re a good fit for your content.
4. Yoast SEO Plugin
The Yoast SEO is one of the most important plugins you’ll install on your blog. Learn more about plugins here.
It enables a ton of SEO (Search Engine Optimization) functions you’ll need to make sure your blog posts rank high on Google.
Ranking high on Google will attract a ton of traffic to your blog. But it takes time to rank on Google, so we want to make sure we start right away.
Once the plugin is installed, it’ll help you write better content, so anything that has to do with writing blog posts that people love and click on.
Plus, the best SEO tips like defining SEO keywords, adding your Meta description, and optimizing your links.
Once you’ve installed the plugin, make sure to define keywords and meta descriptions for your pages and posts.
5. Theme
Once we’re done with our most important WP settings, we can focus on our blog design.
Yey, one of the most fun parts of being a blogger.
Your blog theme determines the design and looks of your site. You can customize your theme, so it matches your branding and business. There’re free WP themes you can start with, or you can purchase a professionally designed theme.
I prefer paid themes because they are created by professional designers and are optimized for Google and mobile. But you can always switch from a free theme to a paid theme later.
Even though I love designing blogs, I’m no professional designer.
And let me tell you, designing your blog can quickly turn into a mammoth task, so that’s why I always recommend getting a professional theme.
You’ll still be able to customize your theme, so it matches your brand, but all the building blocks and basic design decisions have been made for you. This is such a safer time.
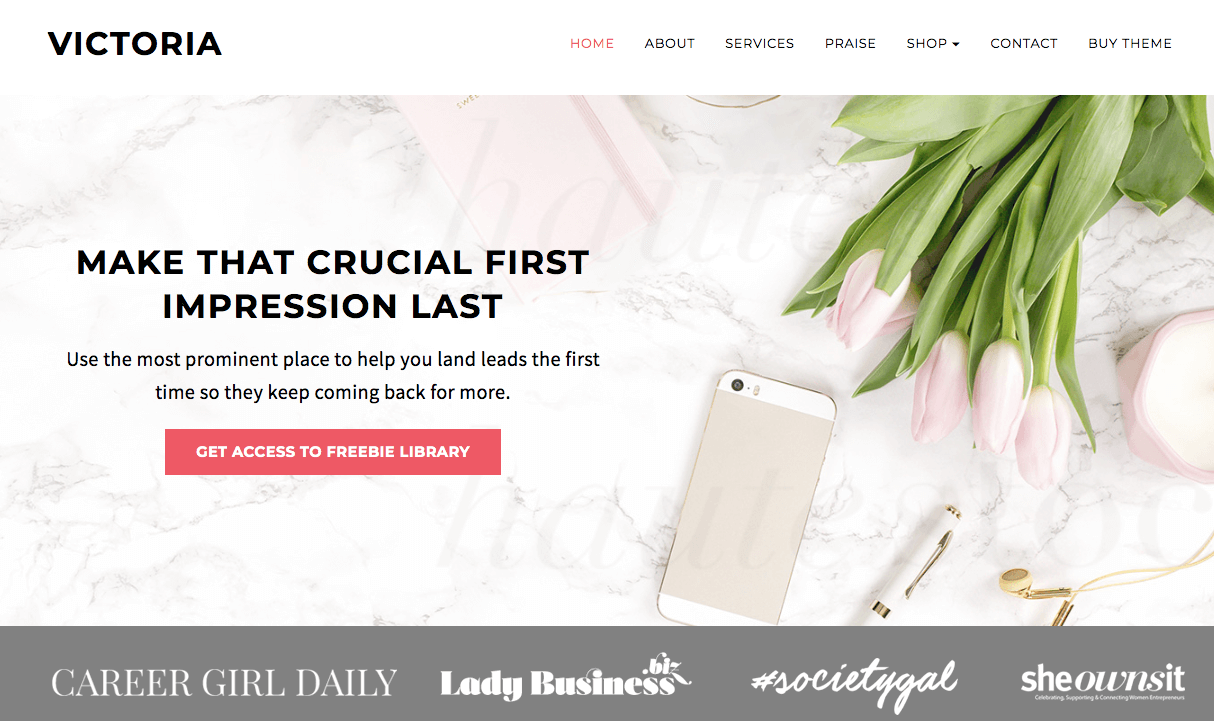
If you’re wondering, my favorite beginner theme is the Victoria Theme by BluChic.
For more ideas, check out The Best Blog Themes here!
6. Logo + Favicon
Maybe you’ve already got your business logo you want to use for your blog.
But if you don’t, you can use Canva (free design tool) to create a cool blog logo.
It’s good to have a blog logo to use in your branding and for your social media content. It increases your brand awareness and attracts more people to your blog.
And, you may have noticed that some blogs have a little icon in the browser tab of your internet explorer. This small “Site Icon” is great to brand your blog and give it a professional vibe.
It’s called your site Favicon.
You can design your favicon in Canva and then add it to your site for a more professional look.
7. Fonts
Fonts are actually super important.
Make sure you choose a font and font size that’s easy to read.
Don’t go with more than 3 fonts on your blog design. Meaning:
- Headline Font (I recommend a serif or sans serif font)
- Text Font (I recommend a sans serif font)
- Script Font (Something that makes your brand stand out)
More and more people are using their phones and tablets to visit your blog.
Over 60% of my blog traffic now comes from mobile.
Make sure your fonts are easy to read (like sans serif fonts) and are big enough so people can read them on mobile.
8. Images, Photography + Stock
When I started my first blog, I thought I had to take all my blog photos myself.
I’m not a professional photographer.
And I was working full time, so when would I have the time to set up my blog, create all content, and then take all the photos I needed for my blog.
It felt very overwhelming.
Then I discovered stock photos.
Stock photos are photos and images that are royalty-free / copyright-free. This means the person who initially took the photos has waived his copyright, and you can use it on your blog without permission.
There’re many free platforms you can get thousands of royalty-free stock photos and use them on your blog.
My favorite platforms are:
9. Cornerstone Content
Your blog settings are set, and your blog is looking good.
Now it’s time to create some content for your blog launch.
You want to make sure you’ve got a few pieces of cornerstone content prepared and ready to go for your launch. So that once you click that live button on your blog, your first visitor has something to admire and read through.
“Cornerstone content is the core of your website. It consists of the best, most important articles on your site; the pages or posts you want to rank highest in the search engines”. (Source)
Your cornerstone content should make up 5-10 blog posts that cover the essential topics you’re talking about in your blog niche.
Learn more about How to Find your Blog Niche here.
Post ideas could be beginner tutorials, how-to’s, lists, or any other helpful content and person new to your niche might be interested in or struggle with.
I recommend you start by creating 3-5 posts before you launch. And once your life, continue to work on your cornerstone content.
10. Menu + Categories – WP Course
I suggest you create a straightforward and easy navigation on your blog right from the start.
An easy menu and clear categories will make it so much easier to search your blog once it grows.
Plus, Google uses your navigation to create a web of information on how your content is connected to each other. The easier this is for Google, the better you’ll rank with your SEO and attract more readers through organic traffic.
Your menu should include your main categories and most important blog pages like an about me page, work with me page, and legal pages.
11. About me Page
I don’t recommend blogging anonymously.
Yeah, I know it can be uncomfortable to put your face out there, but blogging is personal.
If we wanted to learn stuff from a faceless company, we would. Instead, we rather check out a blog where we know there’s a real person behind it.
Your personal story is one of the most important aspects that make up your blog. Your story connects you with your readers and inspires them. You are what makes your blog unique. It’s the one thing that’ll make you stand out in this online ocean of people screaming at the top of their lungs without being heard.
Plus, it’s actually important for Google.
Google wants to know who’s writing this blog content, if this is a legitimate site and if you’re an expert in your niche.
12. Privacy Policy
The General Data Privacy Law (GDPR) requires you to explain how the data of people visiting your blog is used, saved, and secured.
If you’re using any kind of cookies to track user information, or you’ve installed a Facebook or Google Analytics pixel, you’ll need a dedicated blog privacy policy.
Plus, you’ll need things like a cookie policy, a blog disclaimer, and an affiliate disclaimer (if you use affiliate links).
When you’re not having these policies in place once you launch your blog, you’re violating the law.
Yup, it’s kind of serious.
Now I’m not a lawyer, but check out Amira Irfan from Aselfguru.com.
She’s a lawyer and fellow blogger.
We’ve been speaking at some of the same blogging conferences, and I’m in awe of her blog and products.
She has a “Comprehensive Legal Bundle Package” here. She created those legal templates, especially for bloggers.
So cool!
You’ll have your pages set up in no time without having to deal with crazy law jibber-jabber (yes, I can say “law jibber-jabber” because I’m married to a lawyer, and sometimes I just need someone to explain it to me in plain English).
(Well, German for me).
13. Social Media Traffic Strategy
As I’ve mentioned before, only because you launch your blog doesn’t mean people will come.
It’s a sad truth, but I want to be honest with you.
The best way to get new people to your blog as a brand new blogger is from social media.
And I’ve got some good news.
Social media traffic is way quicker than Google.
You can actually get your first visitor to your blog on your first day you launch your blog.
My absolute favorite traffic source is Pinterest.
If you’re like Pinterest, what the heck…?
Then check out my Pinterest Beginners Guide to Blog Traffic here.
Plus, check out my YouTube channel I’ve dedicated solely to helping bloggers grow their blog traffic from Pinterest.
You can set up and optimize your Pinterest business account before you launch so you’re ready to share your content on the platform and attract a bunch of new readers from around the world.
14. Email
If you’re planning on growing a little side hustle from your blog, then starting an email list for your blog will be the thing that moves the needle.
Your email list is a list of all of your subscribers’ email addresses and names stored and organized in a separate email list service.
Once people are on your email list, you can start communicating with them via email.
Email is still the most effective way of selling to people because it’s much more personal and professional than other internet strategies.
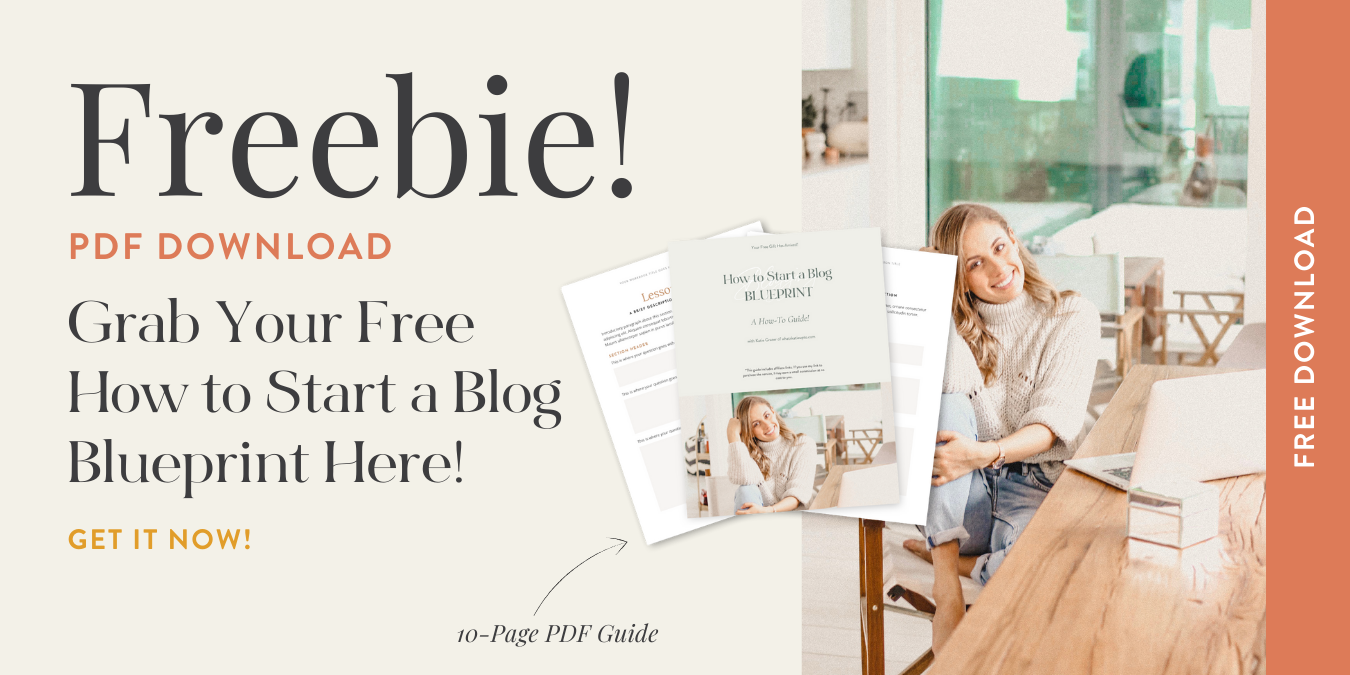
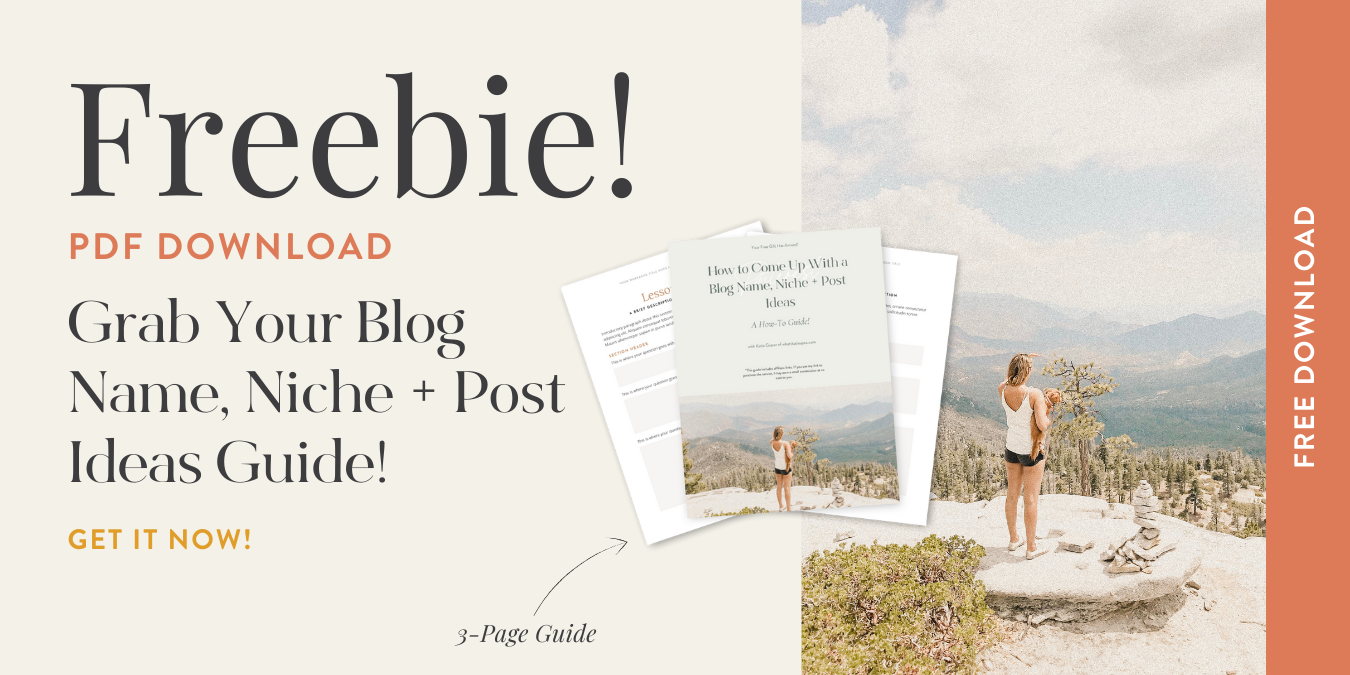
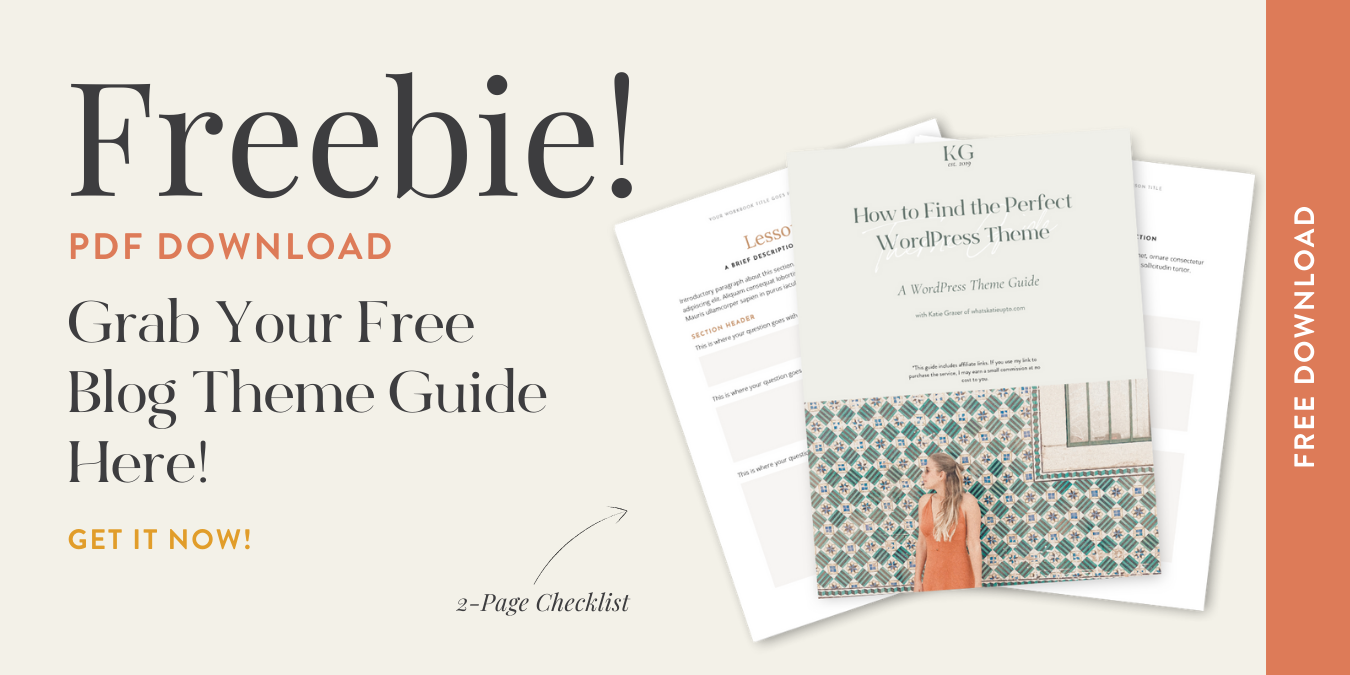
To start growing your list, I recommend creating a launch freebie first. This freebie can be a short pdf guide, pdf list, or any type of download that’s helpful for your audience. You’ll use this freebie to encourage people to subscribe to your email list. So to get the helpful guide, they’ll need to subscribe.
People call this “ethical bribe,” lol.
If you’re new to email marketing, check out ConvertKit.
It’s my favorite email provider to start and grow blog subscribers. ConvertKit was created by a blogger, so it’ll be a perfect match for you.
15. Analytics
I mentioned at the beginning that I want you to learn from my mistakes.
But it’s also important that you make your own and learn from them yourself.
Google Analytics is the best tool to track all kinds of analytics on your blog, such as:
- Where you’re getting your traffic from
- Who your audience is (age, gender, location)
- What your most successful posts are
Tracking your analytics will help you identify what’s going working and what isn’t.
Information is power, so use it!
Start a free Google Analytics account here.
If you need help setting it up or you’re struggling with other WordPress settings, then check out my course “The WordPress Studio” here.
16. Search Console
I always thought that once I would launch my blog, it would just magically show up on Google.
Writing this post, I realize I made many assumptions that turned out to be kinda wrong.
So please, learn from my mistakes.
The easiest way to show up on Google is to create a free Google Search Console account and then submit your sitemap.
Google Search Console is a free service offered by Google that helps you monitor, maintain, and troubleshoot your site’s presence in Google Search results. You don’t have to sign up for Search Console to be included in Google Search results, but Search Console helps you understand and improve how Google sees your site. (Source)
You can use Yoast SEO (which we installed previously) to grab your sitemap and then add it to the Search Console.
This post is an in-depth tutorial. Please use the navigation to find a specific topic. If you want to JUMP STRAIGHT TO THE “START A BLOG TUTORIAL,” please click here! |
Final Thoughts
Holy guacamole – how about that!
Well done.
You’re good to go and ready to launch your blog.
High five to you!
Let me know if you have any questions in the comments below; remember, I’m here for you!
Talk to you soon
Xoxo Katie
Disclosure: *If you purchase a product or service with the links that I provide I may receive a small commission. There is no additional charge to you! *